Redleaf Tutorial 2 Core Workflow
Now that you have Redleaf installed and your documents added, it’s time to build your knowledge graph. The Redleaf Dashboard features three main workflow buttons that control the entire process. This guide explains what each one does.
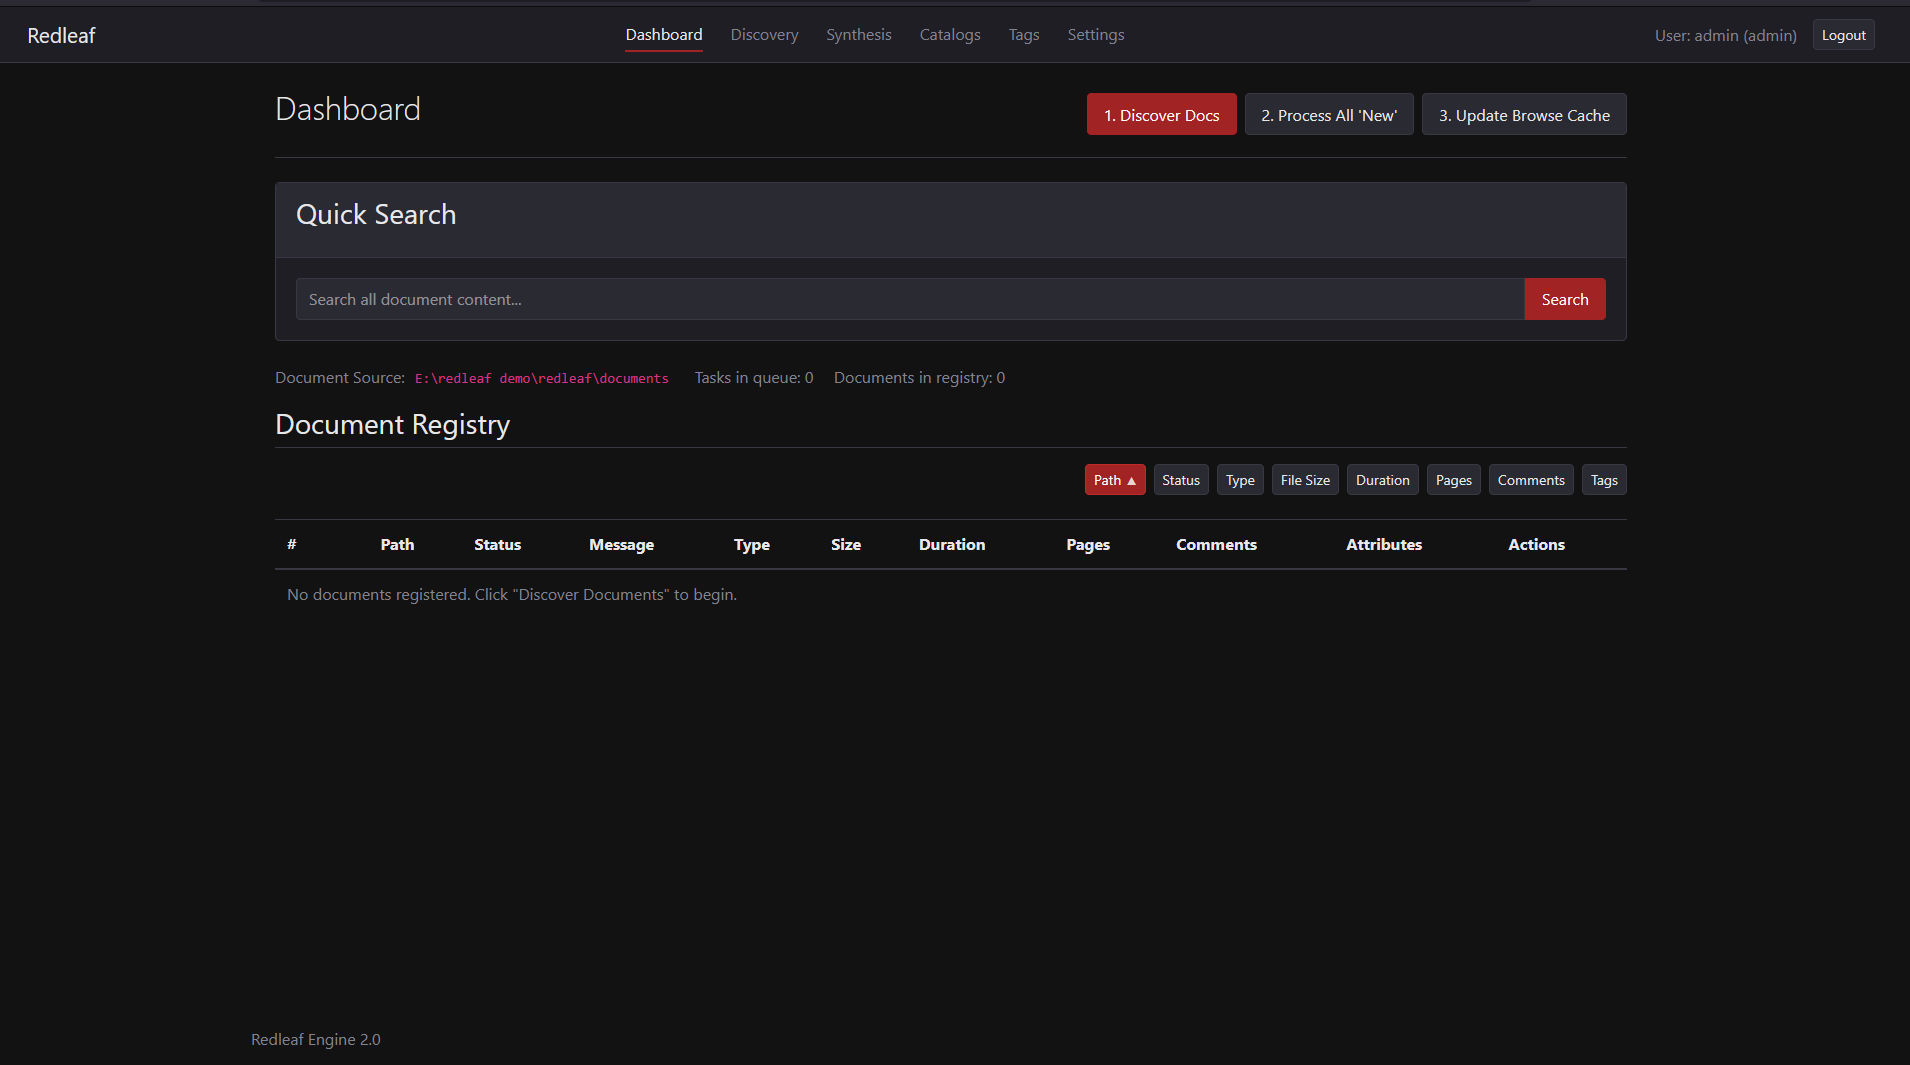
The Three Main Workflow Buttons On The Redleaf Dashboard.
The Three-Step Process
The core workflow is designed to be simple and explicit, giving you control over when your computer’s resources are used. The process consists of three sequential steps:
- Discover Docs: Scan the
documents/folder and register files. - Process All ‘New’: Perform the heavy-lifting NLP analysis.
- Update Browse Cache: Pre-compute data for fast browsing.
Let’s go through each one.
Step 1: Discover Docs
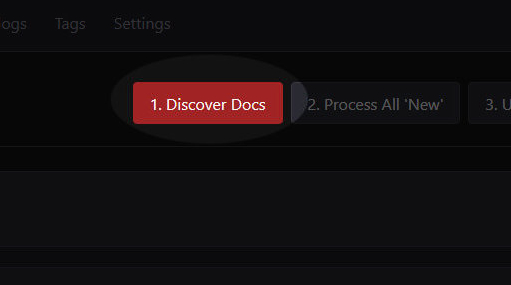
Discover
Clicking this button tells Redleaf to scan your documents/ directory. It looks for any files that are new or have been modified since the last scan.
- What it does: Redleaf reads the basic file information (filename, size, modification date) and adds a new entry for each document into the registry.
- What you’ll see: The status for any new documents will appear as “New” in the Document Registry table on the dashboard.
You should run “Discover Docs” anytime you add or update files in your documents/ folder.
Step 2: Process All “New”
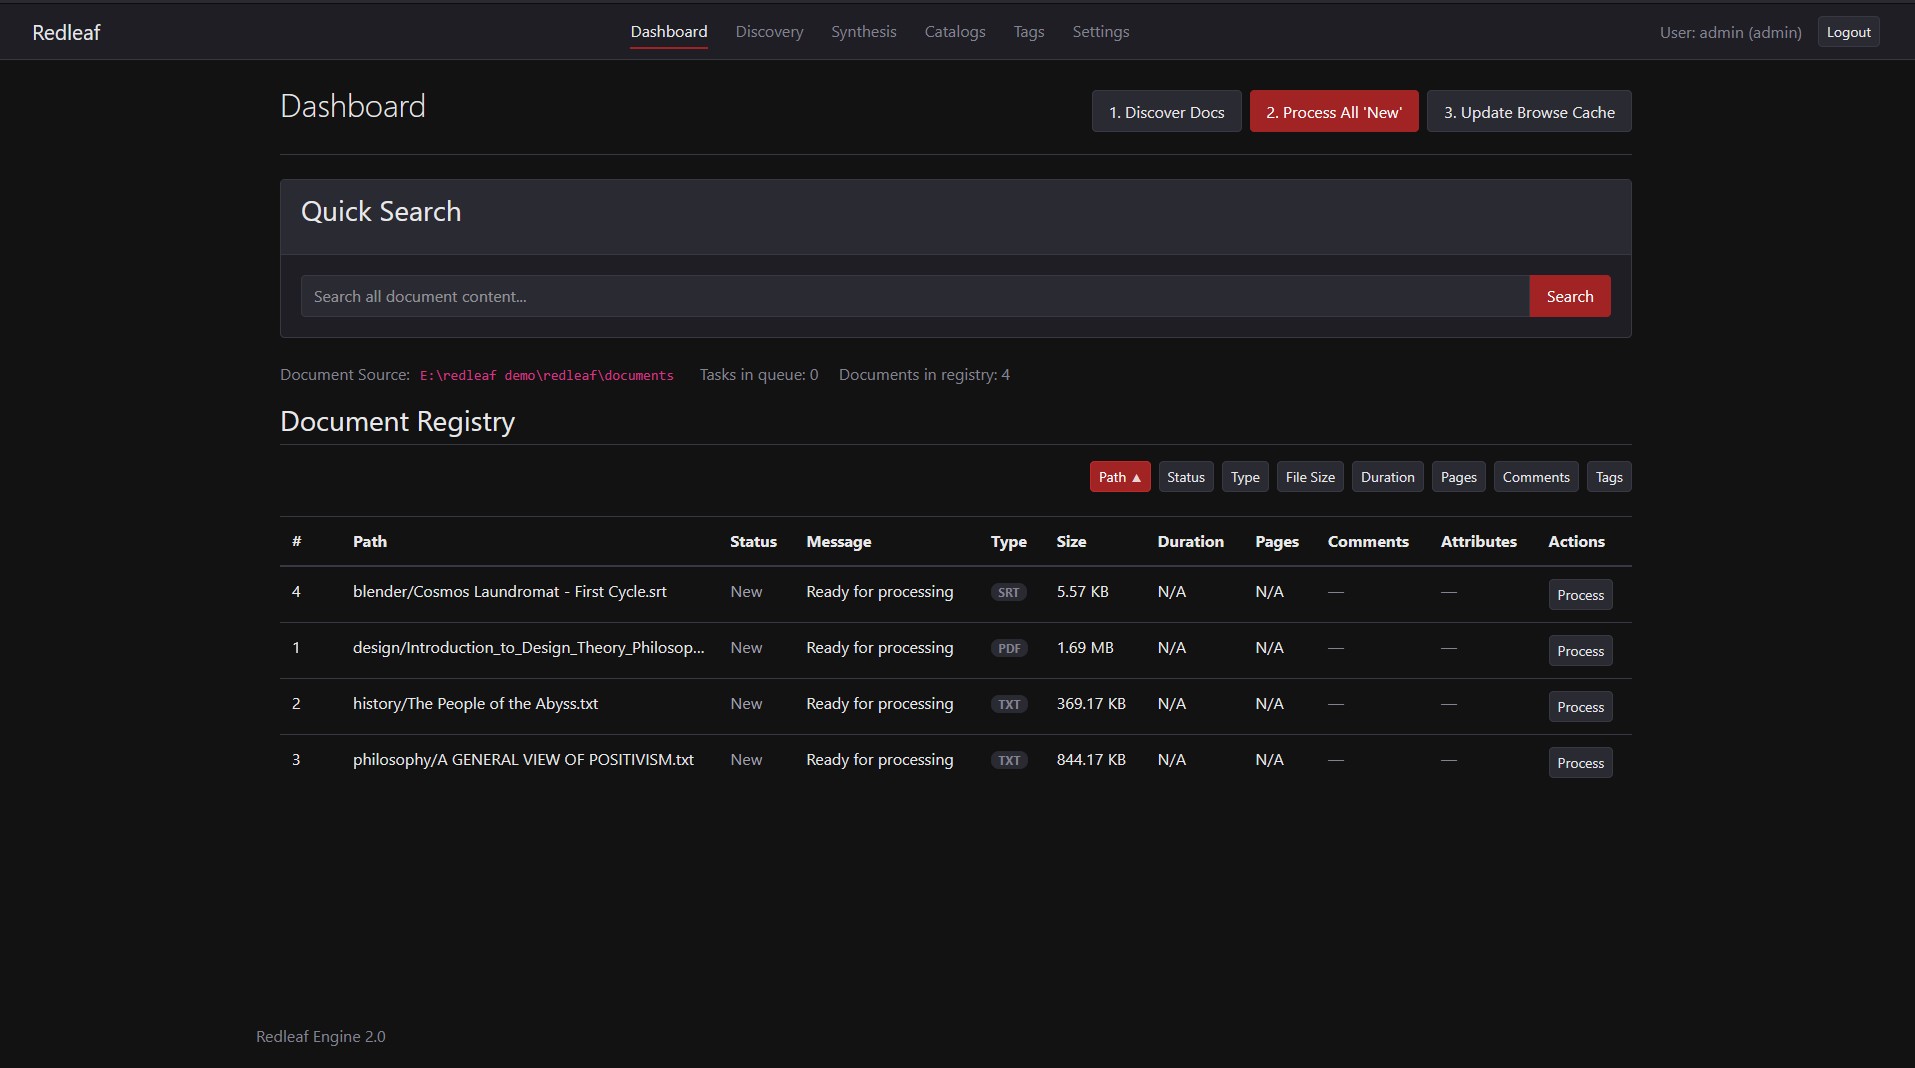
Discovered Documents Listed in the Document Registry.
- What it does: For each document, a background worker will:
- Extract all text content.
- Identify and catalog named entities (people, places, organizations, dates).
- Analyze sentences to infer relationships between those entities.
- Index the full text for searching.
- What you’ll see: The status of the documents will change from
"New"->"Queued"->"Indexing". Once successfully completed, the status will become “Indexed”. If a file cannot be processed, it will be marked “Error” with a descriptive message.
Because this runs in the background, you can continue to browse and use the Redleaf interface while your documents are processing.
Step 3: Update Browse Cache
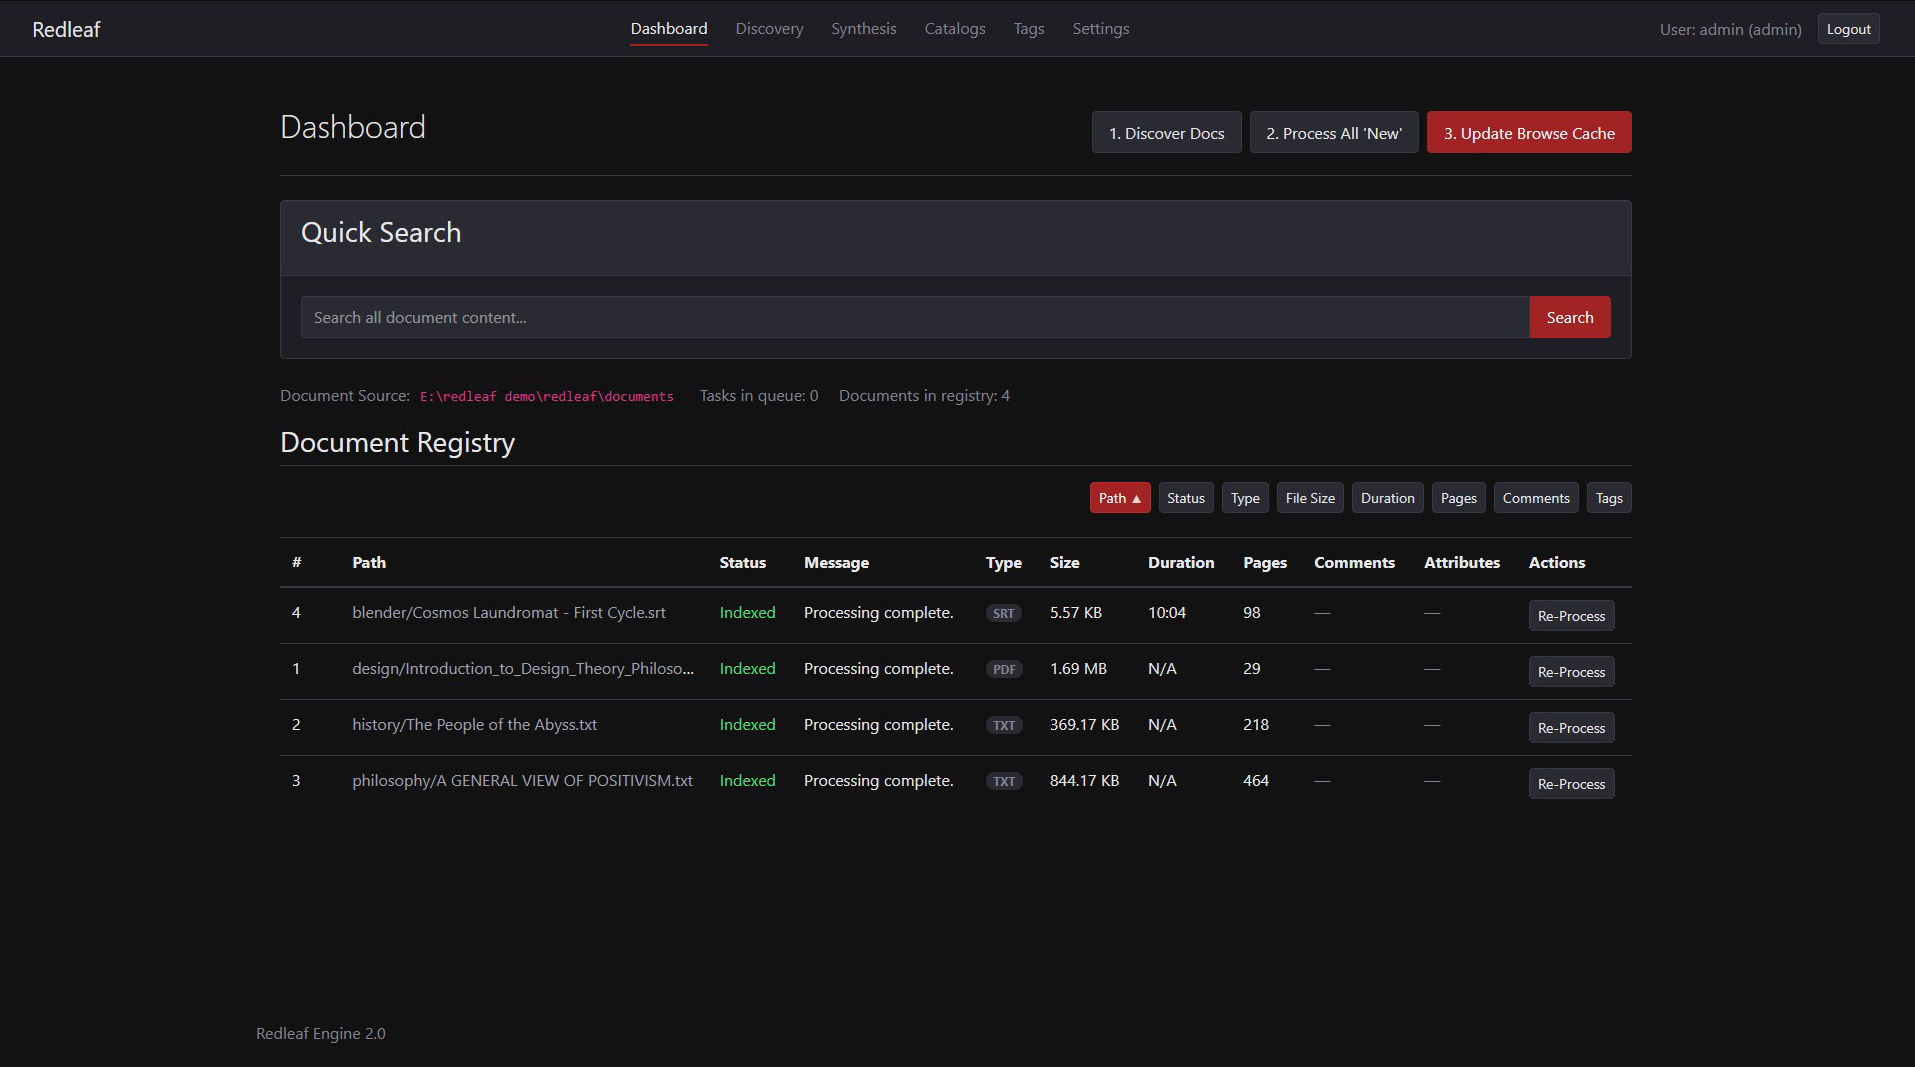
Update Browser Cache
After your documents have been successfully “Indexed,” there is one final step. The “Update Browse Cache” button takes all the raw data extracted in Step 2 and organizes it for the Discovery and Search features.
- What it does: This process pre-computes the relationships between documents, entities, and tags. It builds a “cache” that allows the Discovery pages to load instantly, even with thousands of connections.
- What you’ll see: This is a very fast process. A “Cache updating…” message will appear, and the button will be disabled momentarily.
You should run this after a large batch of documents has finished processing, or if you feel the Discovery view is not showing the latest information.
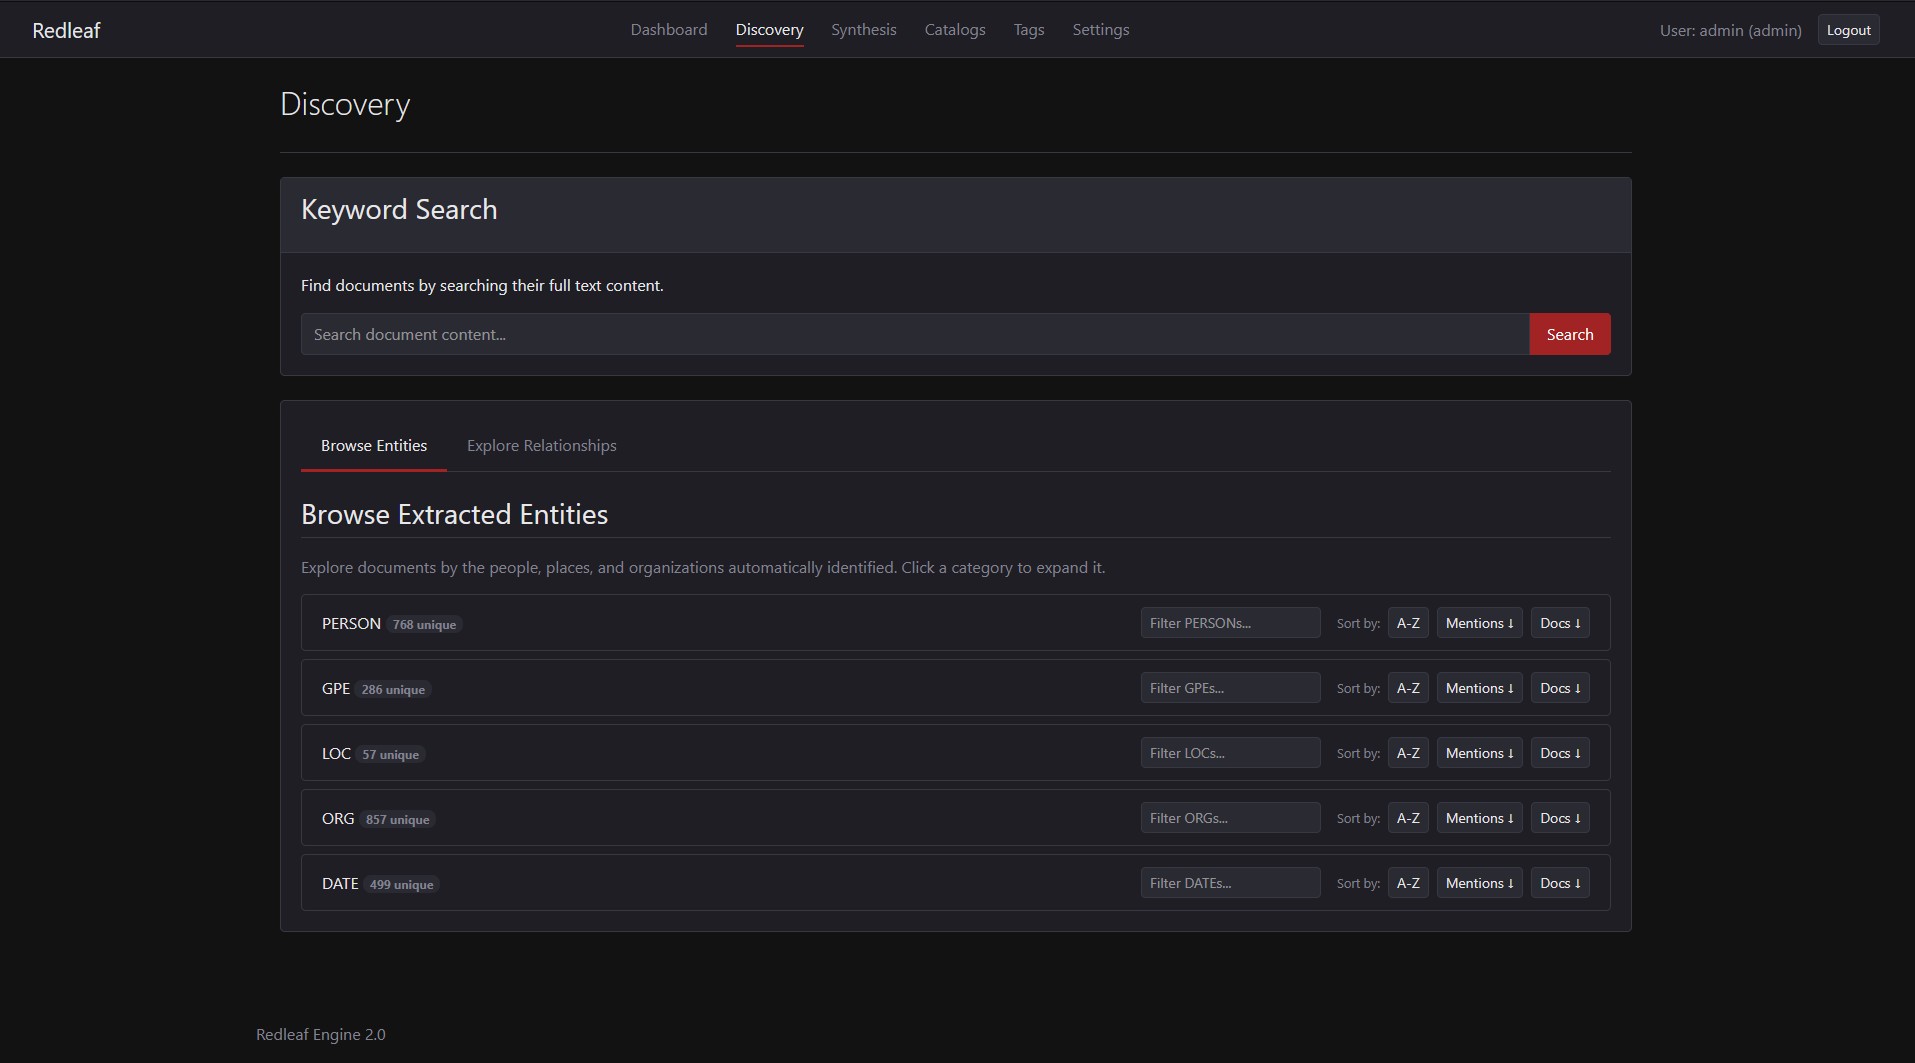
Discovery Page
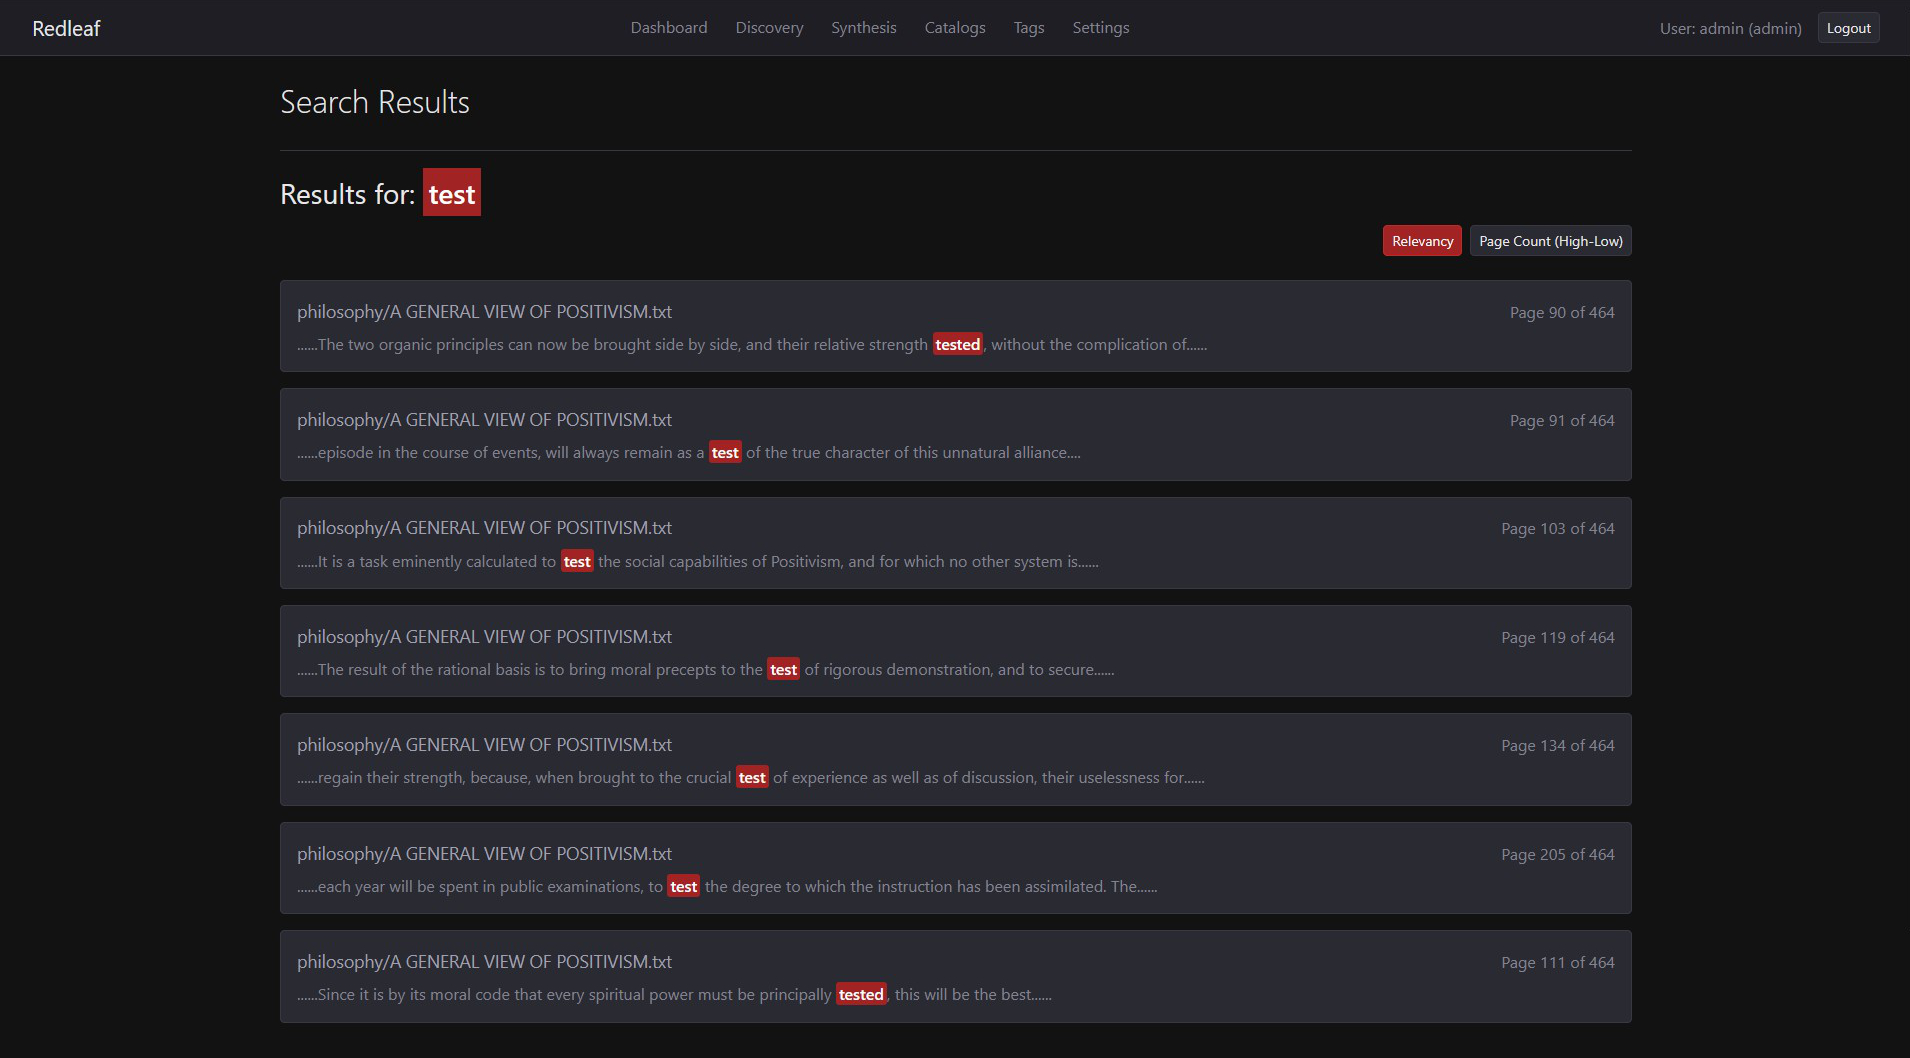
Keyword Search
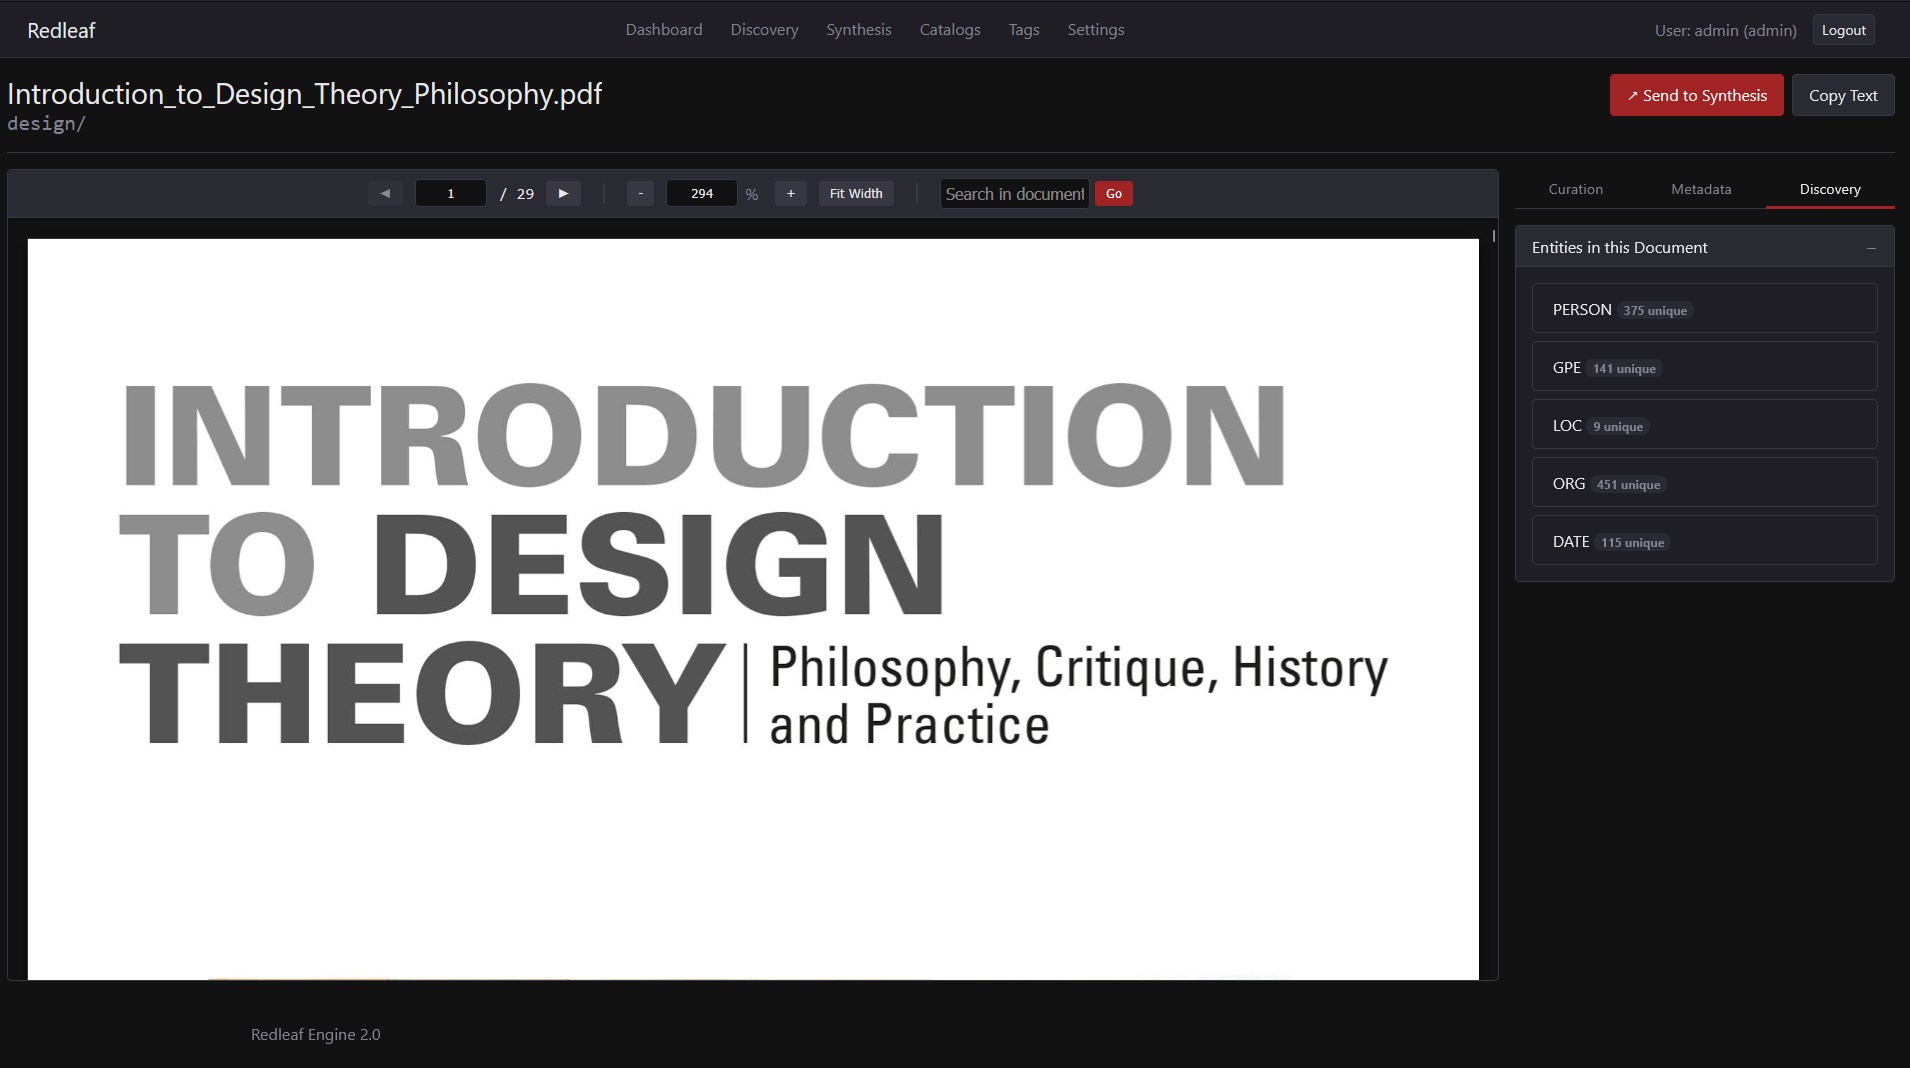
Discovery Tab
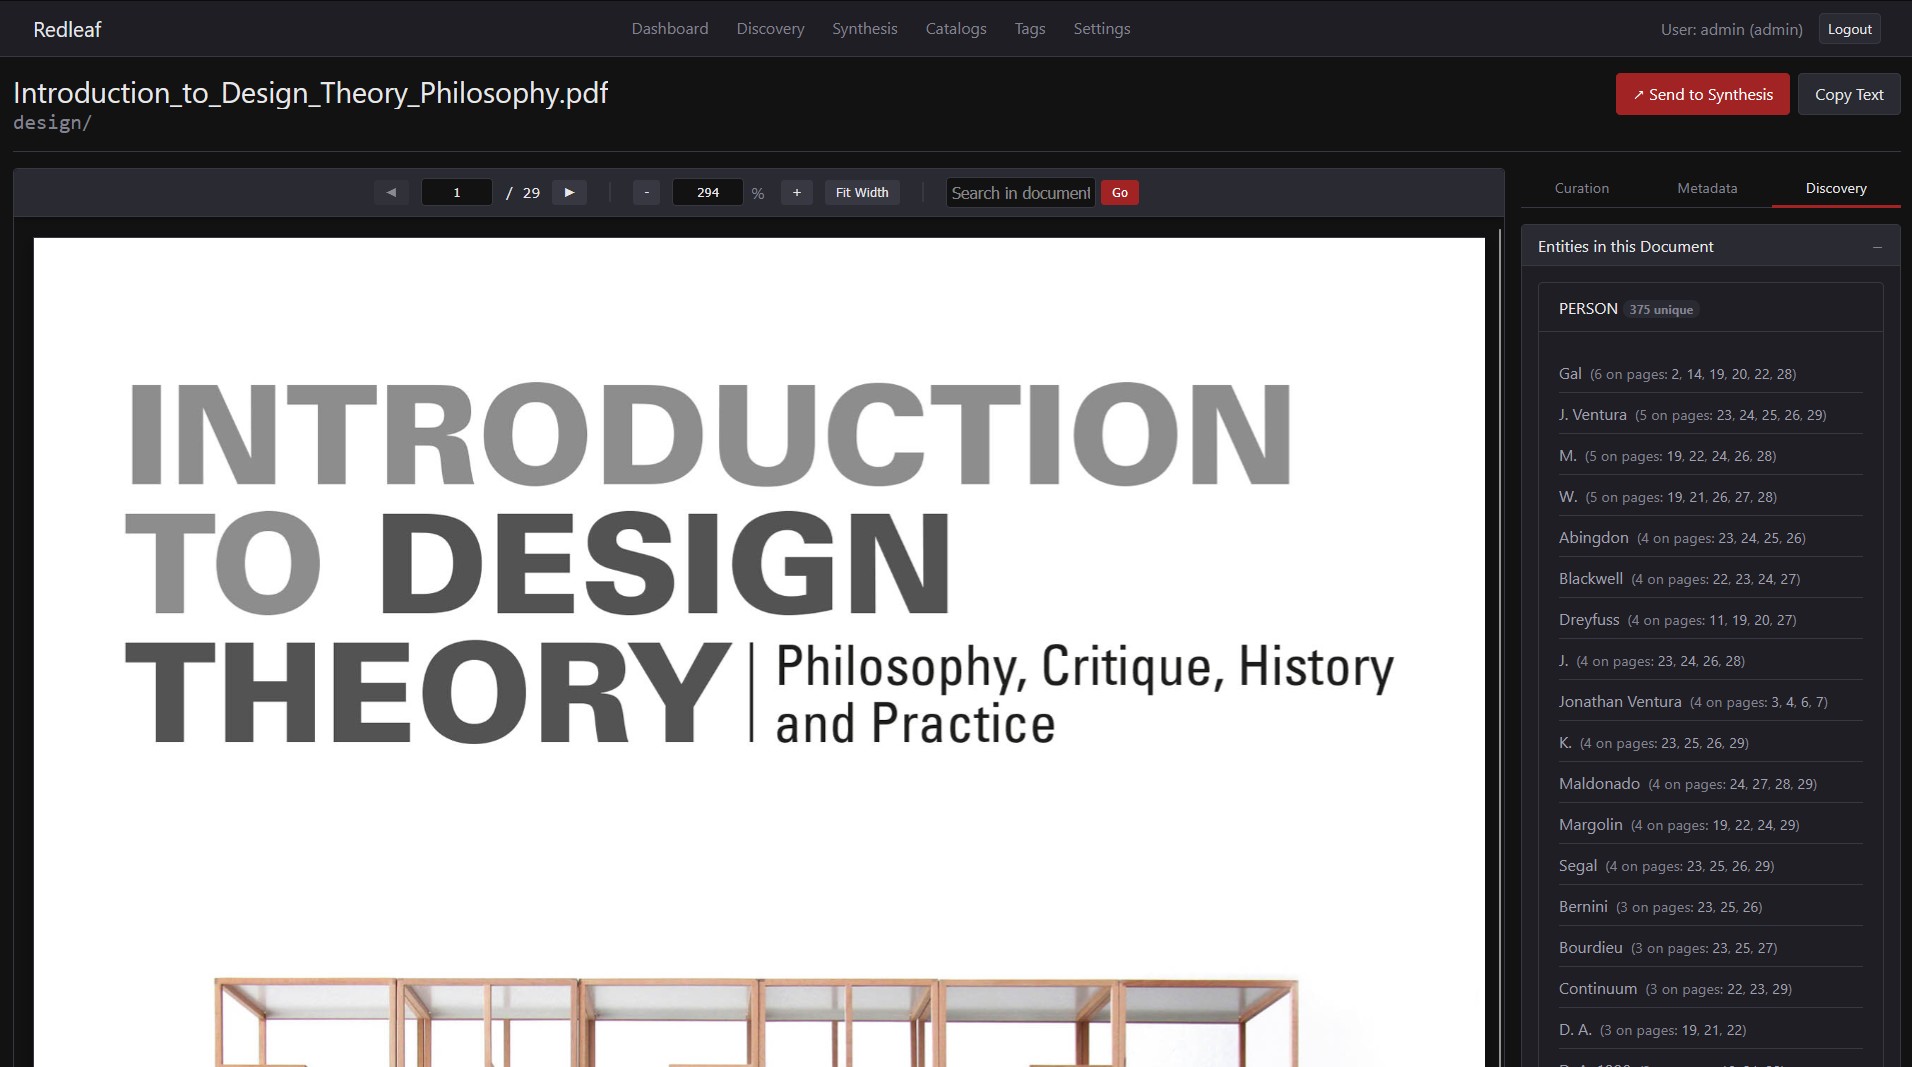
Discovery Tab Expanded
That’s it! Once you have completed these three steps, your knowledge graph is fully built and ready to be explored.
In the next tutorial, we will dive into the Discovery interface to search your documents and navigate the connections you’ve just uncovered.